So, you probably heard about React—the cool JavaScript library to build user interfaces—and you are literally bursting to get started. That’s awesome! Let’s get in and build your very first React project inside of this tutorial. Don’t worry even if you are a complete newcomer to coding or to React. I’m going to walk through it step by step.
What We’ll Build
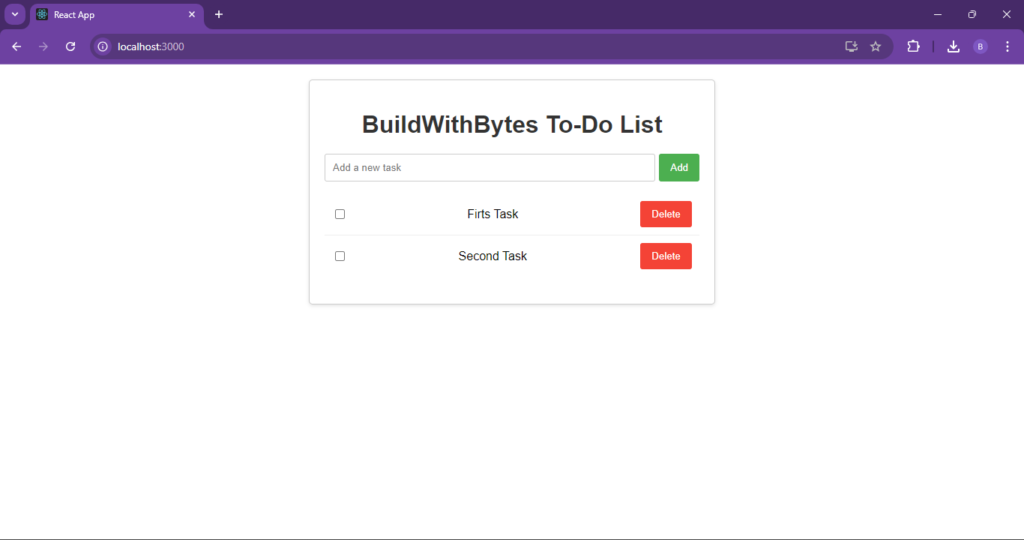
For your first project, we’ll go easy and simple. We are going to make a very simple To-Do List application, which will be able to:
- Add new jobs
- Mark tasks as complete
- Remove/Delete Task
This is just a bit of introduction to some of the main concepts in React: components, props, and state. This forms a very solid basis for further development.
Setting up the Development Environment
Before we start writing the code, make sure you have all this:
- Node.js and npm: You will need to install Node.js on your computer by downloading it from the official website, https://nodejs.org/.
- IDE or Code Editor: Any preferred code editor can be used. Some of the popular ones are: Visual Studio Code, Sublime Text, Atom.
- Terminal or Command Prompt: This is where you will be running all your commands that interact with your project.
Create Your React App
We will create a new React project in just a second using the create-react-app CLI:
- Open up a terminal and then change directories into where you want to start your project.
- Run the following command:
npx create-react-app my-todo-app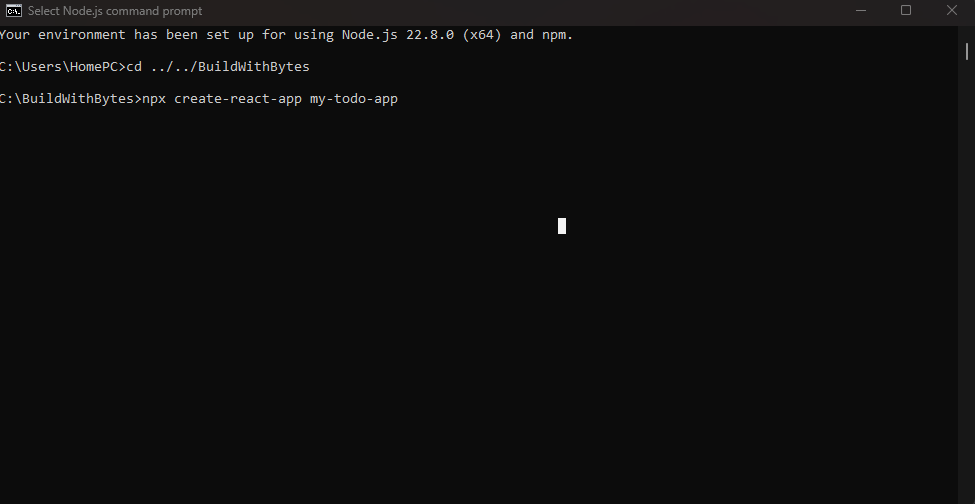
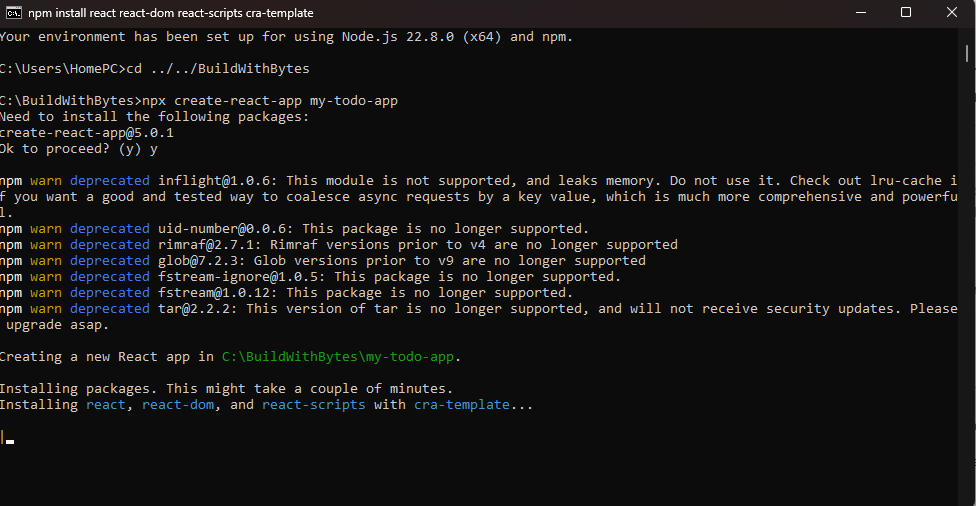
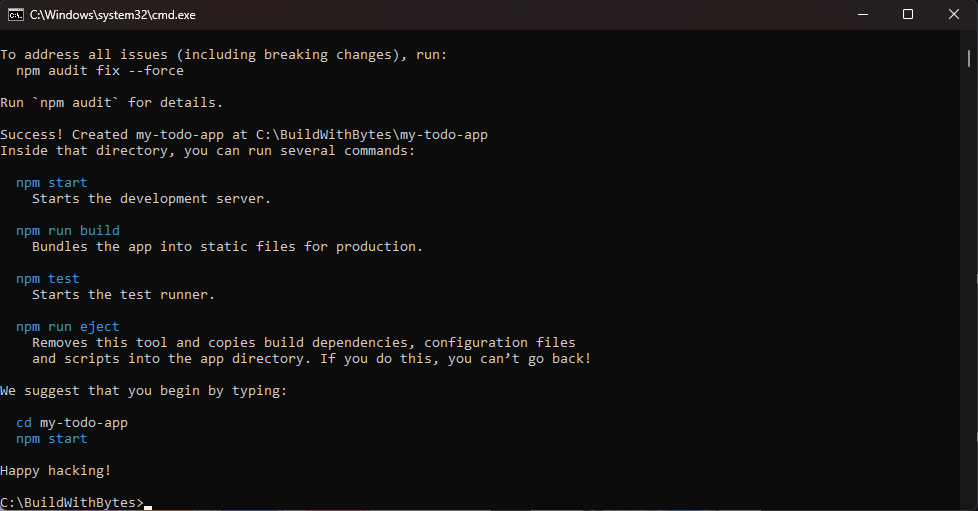
This will create a new folder called my-todo-app with all the necessary files and configurations for your React project.
- Navigate into the project directory:
cd my-todo-app- Start the development server:
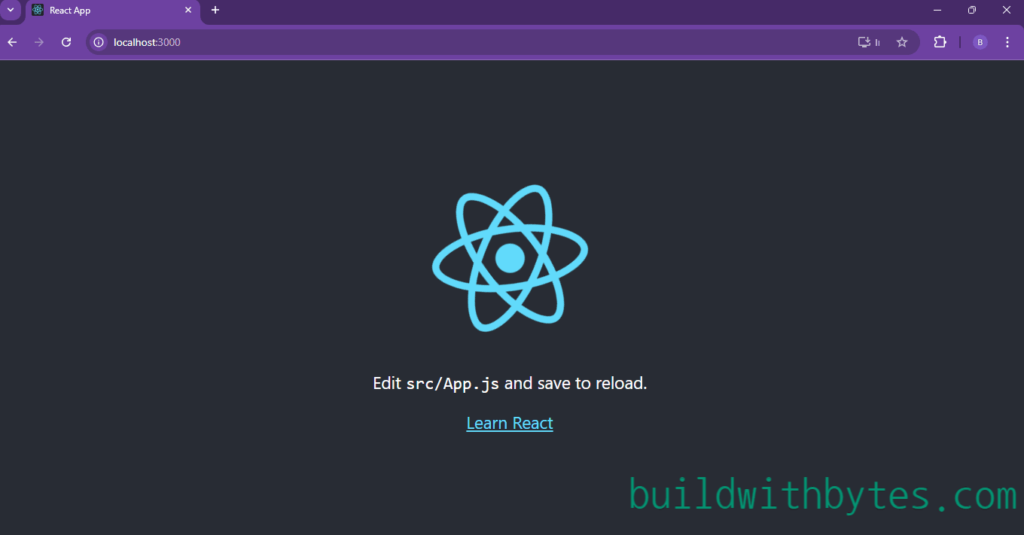
npm startThis will open your React app in the default browser. You are supposed to see an extremely simple Welcome to React page.
ToDo List Application – Building
And now, onto the fun and games of writing our To-Do List app! Let’s break this down one piece at a time:
- Components Created: We will need a few components for the App, this will be the main component that ties everything together.
TodoList: A component to render the list of tasks.
TodoItem: a component which would display every given task.
AddTaskForm: This will enable the user to add new tasks. - Control State: The list of tasks, and what is ticked off as being complete will be handled by the
useStatehook provided by React. - User Events: We will create event listeners that will capture user input in the form of adding a new task, marking a task as done, and deleting.
- Define the UI: We’re going to use JSX to define structure and looks for our components.
Detailed Code Implementation and Explanations:
Now, let’s roll up our sleeves and bring this To-Do List app to life with some React code!
1. Creating the Components:
We’ll start by creating the basic structure of our components. You can create separate files for each component (e.g., App.js, TodoList.js, TodoItem.js, AddTaskForm.js) or keep them all in App.js for simplicity since it is your first project.
App.js File
import React, { useState } from 'react';
import './App.css';

function App() {
  // State to store the list of tasks
  const [tasks, setTasks] = useState([]);

  // Function to add a new task
  const addTask = (newTask) => {
    setTasks([...tasks, { text: newTask, completed: false }]);
  };

  // Function to toggle a task's completion status
  const toggleTask = (index) => {
    const updatedTasks = [...tasks];
    updatedTasks[index].completed = !updatedTasks[index].completed;
    setTasks(updatedTasks);
  };

  // Function to delete a task
  const deleteTask = (index) => {
    const updatedTasks = tasks.filter((_, i) => i !== index);
    setTasks(updatedTasks);
  };

  return (
    <div className="App">
      <h1>BuildWithBytes To-Do List</h1>
      <AddTaskForm onAddTask={addTask} />
      <TodoList tasks={tasks} onToggleTask={toggleTask} onDeleteTask={deleteTask} />
    </div>
  );
}

function AddTaskForm({ onAddTask }) {
  const [newTask, setNewTask] = useState('');

  const handleSubmit = (e) => {
    e.preventDefault();
    if (newTask.trim() !== '') {
      onAddTask(newTask);
      setNewTask('');
    }
  };

  return (
    <form onSubmit={handleSubmit}>
      <input
        type="text"
        value={newTask}
        onChange={(e) => setNewTask(e.target.value)}
        placeholder="Add a new task"
      />
      <button type="submit">Add</button>
    </form>
  );
}

function TodoList({ tasks, onToggleTask, onDeleteTask }) {
  return (
    <ul>
      {tasks.map((task, index) => (
        <TodoItem
          key={index}
          task={task}
          onToggle={() => onToggleTask(index)}
          onDelete={() => onDeleteTask(index)}
        />
      ))}
    </ul>
  );
}

function TodoItem({ task, onToggle, onDelete }) {
  return (
    <li>
      <input
        type="checkbox"
        checked={task.completed}
        onChange={onToggle}
      />
      <span style={{ textDecoration: task.completed ? 'line-through' : 'none' }}>
        {task.text}
      </span>
      <button onClick={onDelete}>Delete</button>
    </li>
  );
}

export default App;
App.css File
/* App.css */

.App {
  font-family: sans-serif;
  text-align: center;
  max-width: 500px;
  margin: 20px auto;
  padding: 20px;
  border: 1px solid #ccc;
  border-radius: 5px;
  box-shadow: 0 2px 5px rgba(0, 0, 0, 0.1);
}

h1 {
  margin-bottom: 20px;
  color: #333;
}

form {
  display: flex;
  margin-bottom: 10px;
}

input[type="text"] {
  flex-grow: 1;
  padding: 10px;
  border: 1px solid #ccc;
  border-radius: 3px;
  margin-right: 5px;
}

button {
  padding: 10px 15px;
  background-color: #4CAF50; /* Green */
  color: white;
  border: none;
  border-radius: 3px;
  cursor: pointer;
}

ul {
  list-style: none;
  padding: 0;
}

li {
  display: flex;
  align-items: center;
  padding: 10px;
  border-bottom: 1px solid #eee;
}

li:last-child {
  border-bottom: none;
}

input[type="checkbox"] {
  margin-right: 10px;
}

li span {
  flex-grow: 1;
}

li button {
  background-color: #f44336; /* Red */
  margin-left: 10px;
}
After editing your App.js and App.css code with the codes above , save and reload the page.
Explanation:
- We use the
useStatehook to manage thetasksarray, which holds our to-do items. - The
addTask,toggleTask, anddeleteTaskfunctions update thetasksstate accordingly. - We pass these functions and the
tasksarray as props to theAddTaskFormandTodoListcomponents. - The
AddTaskFormcomponent handles user input and callsonAddTaskwhen a new task is submitted. - The
TodoListcomponent maps over thetasksarray and renders aTodoItemfor each task. - The
TodoItemcomponent displays the task text, a checkbox to toggle completion, and a delete button.
Additional Considerations:
- Styling: You can add CSS to style your components and make the app visually appealing.
- Error Handling: Consider adding error handling to gracefully handle cases where something goes wrong (e.g., if the user tries to add an empty task).
- Persistence: To make the tasks persist even after the user refreshes the page, you could explore using local storage or a database.
Remember: This is a basic implementation. As you become more comfortable with React, you can add more features, refactor your code, and explore more advanced concepts!
I hope this detailed explanation helps you understand the code and build your first React project. Let me know if you have any other questions or would like to move on to the next step! Sources and related content
Congratulations! You’ve just built your first React project – a functional To-Do List app. This is a great starting point for your React journey. From here, you can explore more advanced concepts like routing, state management libraries (like Redux), and connecting to APIs to build even more powerful web applications.
Remember:
- Practice makes perfect! The more you experiment and build with React, the more comfortable you’ll become.
- Don’t be afraid to make mistakes. It’s all part of the learning process.
- The React community is vast and supportive. Don’t hesitate to reach out for help or inspiration.
Stay tuned for more React tutorials and projects!
I’m excited to see what you build next. Happy coding!
